Kaisercraft | DIY Wedding Part Two – Stationery Set
2:45:00 PM
The fun and creative part of planning a wedding is making your invitations and stationery. Your invitations and stationery will set the scene and mood for the entire day, so it is important that you know what you want.
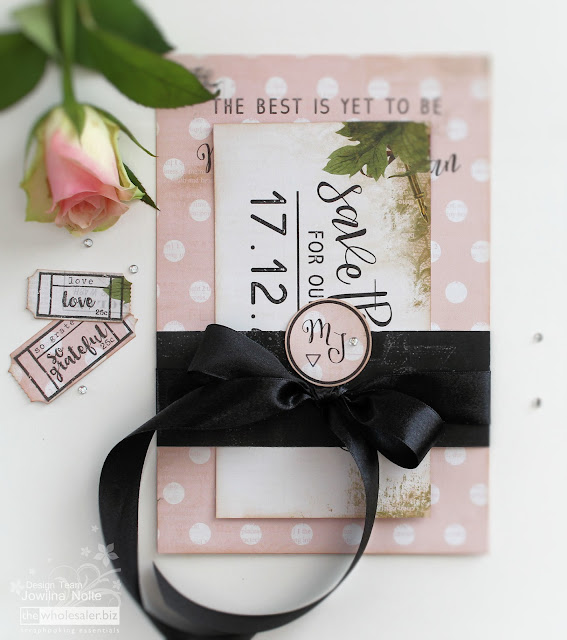
For this sample I chose a modern romantic theme. The pretty paper and
elements are the romantic part and the actual font and design used is
quite modern. Together they make for a beautiful and timeless design.
The invitation bundle is tied together with a classic silk ribbon over a
black paper wrapper and finished off with a monogram element. Included
in the bundle is the invitation and RSVP card and save the date card as a
reminder for the important date.
The front of the invitation is printed on the pink dot patterned paper.
The modern design is clearly evident by the fonts used as well as the
graphic elements like the solid black line and fun triangle. A single
diamante adds a nice and classic finishing touch.
The back of the invitation is printed on a matching paper from the range
sporting the romantic rose element in the top right hand corner. The
same fonts, design elements and groupings were used for the back design.
After the invitation and RSVP card and reminder cards comes the fun
part – Following through the theme and design into some other elements
that can be used throughout the reception. I was so excited by this
amazing new die-cut that I simply had to use it.
I created a beautiful serviette wrapper using the ‘thanks’ die cut.
Use a small piece of washi tape and adhere the die to the patterned
paper you want to use. Trim the die-cut strip down to fit onto the black
paper wrapper. Adhere the die-cut so that the black shows through, and
then adhere a printed strip just below the die-cut word. Wrap the strip
around the folded serviette and then add the same black silk ribbon that
was used on the invitation.
And now your DIY wedding part two and all the elements for a beautiful modern-romantic celebration are well under way.


0 comments