Couture Creations 2 Way Glue – A Sticky Affair!

Are you always getting stuck looking for a really amazing adhesive? Well we have some amazing news for you. Today we are introducing the new Couture Creations 2 Way Glue pens – giving you twice the solution to sticky messes.

I tested the glue pens on a quick tag I made using some of my favourite products from The Wholesaler. I used the larger pen tip as a wet permanent bond glue for my larger elements and matts, and then the smaller pen for my fussy cut elements that I wanted to be repositionable. Both options that I like having in my bag of tricks.
Step 1 - Cut out images from printed paper, journaling cards or use photos for your project.
step 2 - Use the large 2 Way glue pen for the large pieces you are adhering. TIP: To start off using the glue pens, you need to push the pen tip in several times to activate the glue. The pen tip will become white as the glue seeps into the nib.
 step 3 - The large pen tip is perfect for adding adhesive to larger pieces like photos, journaling cards and other flat elements. The large tip spreads the glue evenly in a thin layer.
step 4 - Add glue to the postcard element using the large 2 way glue pen.
step 5 - TIP: I used this glue wet. Adhere the element to brown cardstock while the adhesive is still wet for a permanent hold.
step 6 - Use the smaller 2 way glue pen with the small nib for smaller cut out elements for detailed work.
step 7 - Add glue to the cut out elements using the glue pen and set them aside to dry first.
 Once the glue is dry adhere the elements to your decorated tag – I can move the elements around until I am happy and then leave them in position to dry for a permanent hold.
TIP: The 2 way glue is really great for people who battle using very wet adhesives. It enables you to let the glue dry first before committing to placement on your project, and lets you move things around for that perfect fit. Giving you time to adjust certain elements will take the stress out of getting things stuck.

Tombow or Bust - Tombow DT call.

I have always been an "adhesive" snob - there i said it! When it comes to adhering things to my layouts and cards or simply creating a DIY recycled project, you can be sure I will grab my Tombow mono multi adhesive first. My first encounter with this adhesive was in 1998 - yip, dare i even think that far back. It was when i was fortunate enough to get to know this amazing glue - and i have never looked back. In my stash you won't find all those nasty smelling adhesives that make you gasp for air, or the ones that come apart when left in the boot of your car for a few hours....
yes you know the ones.
Sharing today are a few examples of how i use my Tombow everyday as I apply for their design team - hoping and wishing i can share my wonderful Tombow journey with all!
On this layout I made my own gold and silver leafed accents. I simply used the wide tip at the bottom of my Tombo Mono Multi adhesive bottol and add a thin layer of adhesive to plain white cardstock. I let the glue dry totally until it becomes tacky, and then lay a sheet of gold leaf over it, lightly smooth it out with my fist and cut into smaller pieces to use. Quick and easy!
I am not a huge fan of dimension, but every now and then i want to use those beautiful Prima flowers. and nothing sticks them down quite like Tombow! Always and every time - permanently!
and then....i can never create all those wonderful recycled DIY projects without my Tombow.
For this recycled tin can I used my Mono Multi adhesive to adhere the die-cut paper strip, to hold the baker's twine in position, and to adhere my resin elements together.
I am yet to be disappointed by this totally awesome and versatile adhesive!
a drop of Tombow here and there around the top edge of my tin can, leave it to become tacky, and then wrap my twine around the top edge. This will ensure that the twine won't sag and hang as it looses it's tension.
here's to many more sticky situations, without the mess and fuss of course!
Have a wonderful Sunday!

adhesives - Tombow Glue Sticks.

Read more about adhesives, see my tips and tricks and sample projects over here 

One of my go-to glues in my stash and one of my personal favourites too is the Tombow Mono Color Glue Stick. I often have people frown at me when I ask them to have a glue stick in their basic kit – and no it’s not the kind of glue stick you send to school for your kids to use. This is a very special kind of glue stick.

I have a ton of uses for my glue stick, and if you think about it they are pretty obvious. Why would you glue down thin tissue paper with tape that will show through, or a pretty quote printed on vellum, and why would you glue down ribbon with a liquid adhesive that will simply seep through and ruin your entire project? Right… I will give you a minute to answer those questions for yourself – done!

Ok now time to move on and explain just exactly why the Tombow glue stick is my go-to adhesive for certain papers and applications
·         I love handmade mulberry paper but because they are so flimsy and thin double sided tape, roller tapes and any liquid adhesive will simply make a line where it bonds to the paper and show through leaving a totally unsightly end result.
·         I love making invitations and printing the wording on vellum. Yip vellum as in tracing paper. The paper is thin and milky and with most adhesives this is a nightmare to adhere to any surface. Everything will show through and leave a visible line.
·         I like building up layers of papers together on backgrounds like printed tissue paper, old vintage book paper sheets and old flimsy maps that have seen better days. But should I use tape or liquid glues I will have visible lines where the papers overlap each other and the glue sits. Using a glue stick ensures that my papers overlap seamlessly and that no glues will show through my thin and delicate papers

… so in all of the above cases I will go to my favourite glue stick. The Tombow glue stick will dry with an even surface (when applied correctly) and will leave no visible marks or unsightly residue. It really is magical!

Tombow Mono Color Glue Stick in short
·         The glue is blue but dries totally clear
·         Acid free
·         Has a really strong bond
·         Is washable
·         Is totally child safe

stuck on you - all about Tombow Mono Multi Adhesive.

One of the most important things in most crafts is a good adhesive. It’s not just important to own good adhesives, but also to know their characteristics and uses. Some adhesives will work really well for certain applications, and the same adhesive will be a disaster on a different material. Knowing which adhesive to use is just as important as knowing how to use it. Over the next couple of months we will share our most popular adhesives with you giving you tips and tricks as well as sharing some secrets with you about glues. For more on adhesives head on over here
http://www.thewholesaler.biz/blog/stuck-on-you-adhesives-part-1/
Tombow Mono Multi Adhesive 
Tombow mono multi adhesive is the best adhesive you can ever use for any project. It can bond in two different ways: permanent and removable. It will bond permanently by applying while the glue is still wet, and is removable when you leave it to first dry before positioning. The glue has dual applicators for ergonomic dispensing of the glue – a large broad tip at the bottom and a small pen tip for smaller areas and fine lines. When used right the applicator will not clog. 
In short 
• Bonds two ways 
• Two tips 
• Photo-safe, acid-free 
• Use right from the applicator to insure a permanent bond 
 • Achieve Post-It-Note-like temporary bond by allowing glued project piece to dry before attaching to the layout for ultimate scrapbook repositioning 
 • Non-toxic, acid-free; washable. 
 • Ideal for paper crafting
 For permanent use 
1. Apply glue moderately to paper or element to be adhered 
2. Attach while the glue is still wet for a strong and permanent bond 
3. Replace the cap when you are not using the glue


For repositioning 
1. Moderately apply glue
2. Allow the glue to dry for about 2-3 minutes 
3. Attach the paper or element, remove and reposition as needed 
4. Replace the cap when you are done using the glue


Products used
Tombow Mono Multi Glue [TB 62191]
Ruffled Roses – Plum [C1833-205]
Serendipity 6x6 Paper Pad [BG 3733]
Memories Double Sided Paper – Dots [TC MEM105]
Knock Outs Border Value Kit 2 [AC 63014]

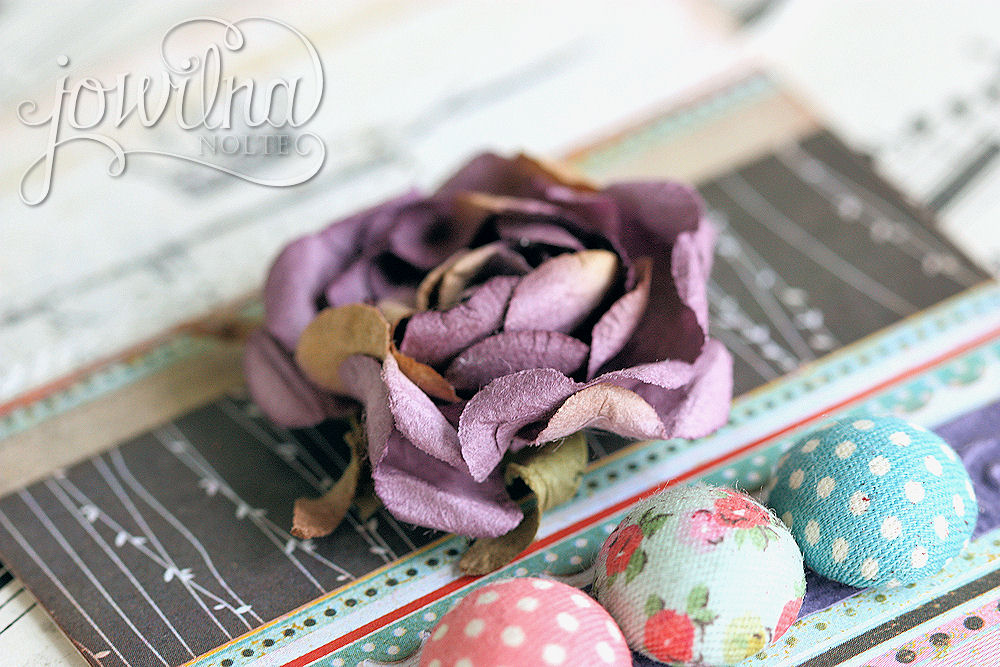
Everything on my tag was adhered using Tombow Mono Multi adhesive: cardstock, patterned paper, flowers, metal covered buttons, diamante and even Cuttlebug embossed cardstock

Popular Posts

Like us on Facebook

Flickr Images