MomentoLuxe inks - multicoloured stamping.

The launch of the new MementoLUXE ink pads in South Africa has brought much excitement! I for one am really excited about this quality ink that is perfect for stamping and mixed media. The ink is made for any surface imaginable and those who love working on canvas and other surfaces will simply love it. Today I am sharing an easy way of achieving multicolored images using this amazing ink - easy and effective!
To achieve this beautiful multicoloured effect using your stamps is really so easy
 The possibilities are endless...
 For the full step x step tutorial, you can download the technique sheet and instructions to complete the layout here
All the wonderful products used are available from Scrapbook Studio.
MementoLuxe Inks are distributed in South Africa by The Wholesaler.
Products used
MementoLuxe Love Letter
MementoLuxe Morocco
Sponge daubers
Stamp - Kaisercraft
Patterned paper: Kaisercraft, Tim Holtz,
Other: Silhouette, buttons, sequins, thread
Until next time - wishing you a week filled with creativity and peace.

Happy New Year.

May God's light shine even brighter in your life in 2015.
May blessings and abundance be yours in all areas of your life.
May the New Year be even more than your wildest expectations.
May it be a wonderful year filled with creativity!

around here...

...things have been mixed - to say the least. My absence was an attempt at getting a hold of life (you know) as in sort out the crap in an attempt to be more productive and take some time for me personally. well, on some levels it worked and on others it didn't. So let's get back to reality and the things i do know, and that's work. thank you for hanging around and hanging out even while i wasn't here - you know you are appreciated and love right?
 Now that the Christmas celebrations are over I am in the mood for getting to work on some other projects. So here goes…
I created this little friendship quote heart element as a reminder to myself.
 I started off by cutting 2 tags with the top rounded using 2 different patterned papers. In the end the two tags together will form a heart shape.
On the one heart I added some double sided tape strips. On both tags I cut slits 3/4 of the way from the bottom straight edge to the top. These slits will be used to weave the tags together to for a heart.
 Remove the double sided tape backing and cover the sticky side with glitter from the Chiswick range.
Use scrap paper and cut a decorative border using one of the beautiful border punches from Chiswick.
 Fold the punched strip over and adhere it to the back of the heart as a hanging tab.
Weave the two tags together to form your heart. Adhere the woven strips together using adhesive to make it firmer. Then add sewing and decorative elements.
Add some of the small blue flowers from the border punch to the decorated heart. Add diamante, pearls, flowers and a border strip.
 Add additional glitter strips once the tags are weaved together.
A nice easy project to get the creative juices going again. I love how the colours from all the different products worked so well together.
I used these wonderful products from the Chiswick range
Die cut stickers – Funky Fun st1002
Ultra fine glitter sb4225
Simplciity Strip Punches – Daisy pct770
Remember to visit the website to see all the products available in the Chiswick range! Ask for them by name at your local craft store!
I will be back later this week, with a little New Years project to celebrate!

Soap Box picture frame for Couture Creations.

Well I hope you are having a wonderful festive season and getting some much needed creative time into recharge your batteries so to speak. For this blog post I create a Soap Box picture frame - just a fun little altered thing. Every now and again I find a box that will be perfect for something, and this something was it!
I started off by covering it in patterned paper from the Damask Delight paper pad. I also used the striped paper from the pad to create a band across the top. To decorate the front and sides I used some of the beautiful Christmas dies available for 2014.
The Bon Bon die was turned into a flat "wrapped sweet" to adorn the front of the box.
On top of the sweet I added the word "happy" cut with the Christmas banners die. Love these words!
The little holly flower is from the Bon Bon die and decorated with a small diamante - have you seen the huge range available from Couture Creations? Stunning!
The Bon Bon was cut into parts to use, and this little left over bit formed a nice clasp at the top of the box giving the impression that it can be opened.
The sides of the box was decorated with the diamonds popped out of the die and decorated with diamante in between.
Here's how i used the dies on my project
step 1 - Cut the bon bon out of patterned paper
step 2 - Keep the flower and diamond parts to use them later on
step 3 - Cut apart the die - I used two side sections and then folded it in half on the score lines. Adhere them together to form a nice sturdy sweet.
step 4 - Use the middle section and cut off the ends. Trace it onto another piece of patterned paper from the damask paper pad. Ink the edges.
step 5 - adhere the cut out part to the top of the sweet part and then add your word banner, flower, and ribbon bows around the ends.
And there you have it - how to turn your Christmas themed dies into something that you can use all year long - not just around the festive time! So get creative and start digging out those dies!
Here's wishing you a wonderful Festive season! Until next time - Peace and Love!


Remember to visit the blog for more inspiration and like us on Facebook!

Double delight die-cut card - Couture Creations.

Welcome to another blog post with a quick die-cut card. Now that the festive season is well underway and most of the festive crafting is done, I took the opportunity to create some quick cards for the new year, birthdays and just general cards for the special people around me.
For this card I used the lovely Rose and Lacy die cut. I combined the two together to make a framed rose card and just love the way it turned out.
I used the Damask Delight Paper pad to create with for a fresh colour combination.
The rose fits perfectly inside the border around the inside circle when using the die-cut - so you get two pieces that you can use - love the multitasking aspect of it.
The grey frame is backed with the beautiful lime green circle paper - plain with some colour
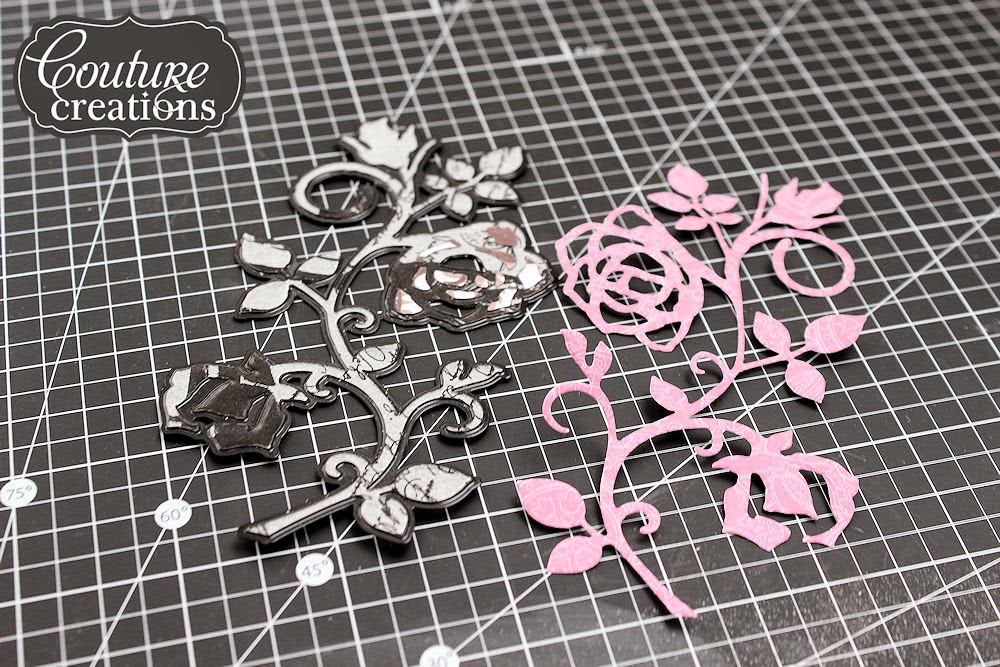
Step 1 - cut the rose using your quick release paper and rose die.
step 2 - cut the lacy 8 die out of grey patterned paper and remove the circle part for a second card, keep the frame part for this card.
step 3 - Cut a piece of patterned paper from the Damask paper pad to back the frame part with. I cut mine into a square that sits behind the frame. Adhere the frame to the patterned paper and then adhere it to the folded card front.
step 4 - Adhere the rose die cut at an angle inside the frame.
step 5 - Adhere a strip of striped paper from your paper pad to the bottom portion of your card. Stamp a sentiment onto a scrap piece of paper and adhere to the strip at the bottom. Add machine sewing around the bottom portion of your card. Add embellishments to finish off your card.
A quick and easy die-cut combination for a striking card. Don't be afraid to use different collection dies from different releases together to create something truly beautiful.
Here are the products I used from Couture Creations

Roses – CO723744
Quick Release Die Paper

15 x 15 Cutting Mat ^Premium Craft Tools

Damask Delight | CO723545 
Remember to have a look at all the wonderful new releases from Couture Creations,
and to like us on Facebook for all the latest news and releases.


Popular Posts

Like us on Facebook

Flickr Images