Mixed Media Block Using Mixed Media Art Mediums.

When Prima launched the new Finnabair mixed media art mediums I think the entire mixed media and scrapbooking community were relieved to be honest! Here was something new and exciting and accessible to everyone – those who want to dabble in more adventurous waters or those who want to just play around with a bit more texture.
For me it is a bit of both – I want to be able to create mixed media pieces to experiment and play, but also to use it on my layouts, cards and Project Life cards. So today I created a mixed media block, working directly onto a piece of wood using my favourite art mediums from Prima and some additional embellishments.

 How I created the mixed media base of my block

STEP 1: I started off my applying a layer of Texture Paste White Sand, combined with some Modelling Paste Opaque white and some Gold Crackle texture Paste. I applied all 3 mediums using the same palette knife covering sections at a time and then overlapping them all to ensure full coverage of my wooden block.

 STEP 3: I used the Tea Stain Color Bloom mist to add colour to my chipboard clock and left it to dry.
 STEP 4: For my wooden black, I wanted to add colour so I used two colours of Color Bloom combined on top of the Modelling paste and crackle paste and sand texture paste – just liberally mist the block and leave it to dry completely.
  • TIP: Once the mists are dry, the surface feels a bit tacky, so I added a light spray of fixative to set everything and seal it in.

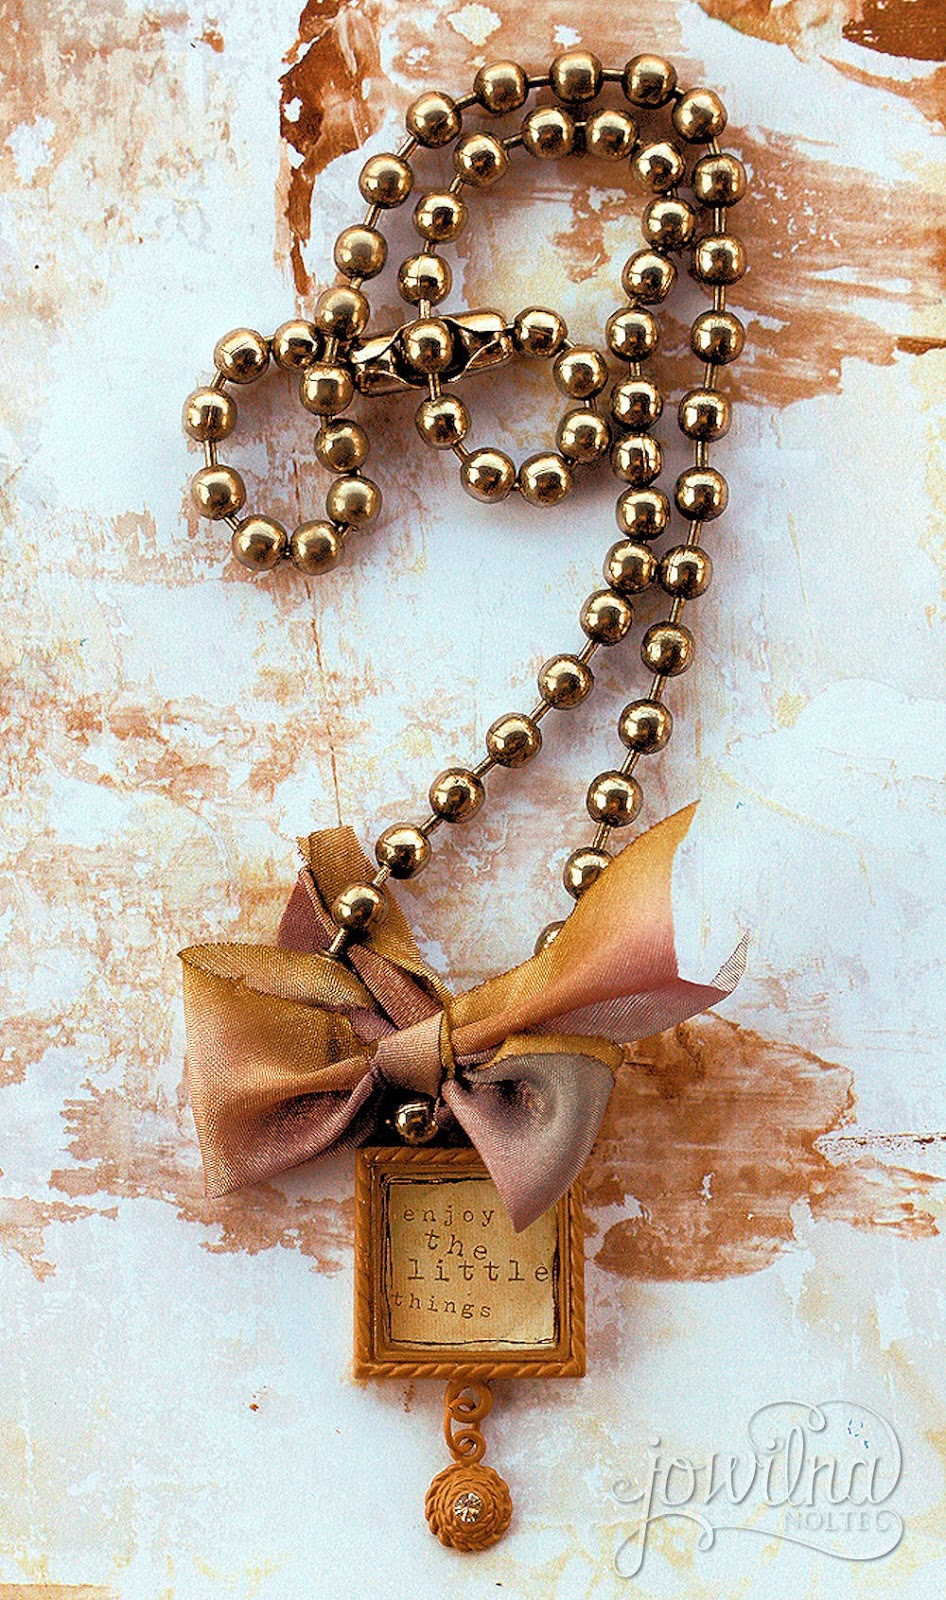
To finish off my block I added some Prima flowers and embellishments. To adhere everything to my block I used my Tombow Mono Multi – and it worked perfectly.

 A fun project completed in a few hours – with loads of texture and interest. I really loved working with these high quality products – perfect in every way.

 Have you used Prima’s mixed media art mediums yet? Please let me know what you created.

 Products Used

Glittered Mixed Media Canvas.

There’s nothing quite as satisfactory as making a mixed media canvas. It’s one of those projects where you can play around with different mediums and just have fun experimenting. And that’s what this project turned out to be…a session of play with different mediums from Chiswick. And here’s the canvas i made…
I used a combination of products to add colour to my background, but it is when i added my texture that i really started playing with the different products to add shimmer. To finish off my canvas i added some flowers and diamante along with some vinyl die-cut words
here’s how i did it step by step
step 1 – Colour your canvas with paint and gesso to create a base. Once dry use a stencil and texture paste to add a dimensional pattern
step 2 – Leave the gesso to dry thoroughly
step 3 – Use spray mists to add colour to your texture paste and leave to dry.

step 4 – Once the mists are dry, add highlights using bronze texture past. I use my finger tip to add thepaste directly to the areas i want to highlight

step 5 – Using the Pearlescent pigment ink pad highlight the edges of the textured pattern by lightly swiping the ink pad across the texture areas. Do the same around the outside edges of the canvas.
step 6 – Add some liquid adhesive to the edges of the textured patterned and sprinkle lightly with silver glitter. leave the glue to dry and then shake off the loose glitter and return it to the container.

Finish off your canvas with some paper flowers from Chiswick as well as other handmade flowers for contrast and texture. Add some vinyl stickers or lettering, a photo or a favorite quote to personalize your canvas.
I used the following Chiswick products in my project and they are all available from your favorite craft store or visit www.chiswick.co.za

Paper Petals – Black 30 pieces pf1000, Face Paint Metallic 50ml – Turgoise pa2151, Burnishing Paste 25ml – Bronze pa2195 , Pearlescent Ink Pad – Sky Blue rs3340 , Ultra Fine glitter sb4225

Altered canvas with Mister Huey inks.

Last year October i had the pleasure of teaching some ladies at a Spa retreat - 9 friends got together and booked into a spa in the beautiful Magalies mountains close to my home. On the Saturday i met up with them and did a morning scrapping session, and after lunch and a neck and back massage we did an altered canvas class.Here's my sample canvas...
we used loads of flowers from Prima and Petaloo as part of the decorating
gold acrylic paint was used to stamp some circles, and then a white pen used to add random scribbles around the stamped circles
the small brown dots was stamped with the back of a pencil using the eraser part dipped into brown acrylic paint - love these perfect little circles
I gave each of them a recycled plastic test tube to use on their layouts - i used a piece of rolled up sheet music in mine but this could be a perfect spot for a little love letter
the beautiful rose on the canvas was done using texture paste - i found a plastic place mat at Pep Home and we used it to add the texture paste right through it before adding the inks and paint to it
i love how something cheap and ordinary can be turned into a scrapbooking/art tool to make something beautiful
i used a combination of 3-4 different Mister Huey inks combined with different stamping inks and acrylic paints to achieve the background colour - i even used a text rubber stamp with white ink to stamp onto my background in selected areas
i love how this canvas turned out - simple in decorating with plenty of hues and shades to revel in!
hope you are having a wonderful week!

embellishments with a purpose - new Prima goodies.

Over at The Wholesaler's blog we are sharing some tips and ideas on how to use your Prima embellishments - so head on over to see the entire selection and order yours today
http://www.thewholesaler.biz/blog/embellish-with-a-purpose


Have you seen the new Prima embellishments? Well then you are sure to have fallen in love with the old and new variety of gorgeous goodies they have released. I love embellishments but sometimes they are just too pretty to sit on a layout in an album, they tell a beautiful story that should be displayed and shared for everyone to see and enjoy. Don’t get me wrong, a beautiful embellishment on a layout is worth it’s look in gold if you use it correctly and to its full potential – embellishments thus are not for filling holes and empty spots on a layout just because you can – embellishments need to have a purpose and add to the overall story and not distract from the design.

Having said all of that I was in need of a quick little gift for a special friend and the new Life Time embellishments were just perfect. For my gift I used a 4x4 inch canvas and covered it using my Tombow glue stick and a thin handmade silk paper – this forms my backdrop. As embellishments I used a couple of elements together – Newsprint mini-frames, butterfly and mini crystals from the Life Time range. I love how the soft colours complement each other yet the statement they make is huge. My message reflects my friend – strong and delicate with lots of sparkle!

i just love these elements to frame little photos and sayings

 I also really love a good chunky necklace with a surprise element. I have often used scrapping elements together with beautiful ribbons to make custom jewellery that can be changed at a whim and re-purposed on a craft project. I used one of the metal trinkets tied with a piece of silk ribbon onto a chunky ball chain. I love the combination of soft and gentle with a vintage industrial feel. These metal trinkets are really amazing for jewellery as an accent piece, making a pretty brooch, used on a key ring and even as home décor.

 It just goes to show that embellishments can be used in a variety of ways – even the unpredictable, but they should always have a purpose. A great embellishment can stand alone quite comfortable making a statement – just like these wonderful pieces by Prima.

Products used
Life Time Newsprint Mini Frames [PM 56343]
Life Time Metal Trinkets [PM 563585]
Life Time Say it in Crystals - Mini Swirls [PM 563981]
Life Time Butterflies (24 Pieces) [PM 565589]
Tombow Colour Glue Stick [TB 01494]
Tombow Mono Multi Glue [TB 62191]

mixed media canvas.

things are slowly getting back to normal and into some kind of routine after a hectic 2 weeks of traveling, teaching, parties and more scrapbooking events. but it's all good and i love it. the only negative is that you have to get back into normal/diet eating habits, design team responsibilities that have gone astray along the way and the mundane like washing and packing the dish washer.but God has been good and this year seems to be better than the last couple. God is good in so many little ways and then in so many miracle BIG ways. I think it also has to do with a change of mindset from my side. i will no longer be abuse and used and take a back seat to those who think they are better than everyone. we all deserve a piece of the sun! one of the projects i have done lately and am  very proud of is a specially designed mixed media canvas for Scrapbook Studio JBay's Retreat. I love how this canvas turned out. it started off slow and then turned into this thing i love with all my heart - it's amazing what paint and Mister Huey inks can do for the soul!
the base of the canvas consists of patterned papers that are covered up in a process of layering. the girls were totally freaked out but in the end the result was spectacular. some punched flowers with beaded centers.
beautiful prima flowers for a touch of the unexpected
old rusty nails straight from the farm shed combined with delicate ribbon and lace
hope you have a wonderful creative week filled with blessings. i am blessed each and every day! 
my totally messed up story is worth telling....this is what scrapbooking is doing for me this week!

with love...from petaloo and the wholesaler.

It’s the month of love, the month of red and white and pink, of eating overpriced chocolates and flaunting ridiculously priced red roses – yip it’s Valentine’s month. Sad that we haven’t cotton onto the idea of celebrating love each and every month, each and every day of our lives, instead we wait for the one month to publicly and privately declare our love to each other. I have learned early in my life that it’s the little things, the seemingly unimportant things that show real love. The things that money can’t buy but that comes straight from the heart and sometimes even the hand. 

For Valentine’s Day I made this little canvas decorated with lots of colour and texture. I started off by adhering some DoCrafts patterned paper to the base using gel medium. I then used a stencil and texture paste to add a pattern directly onto the paper. Then it was time to add some colour using Mr Huey inks. I combined pink, silver, gold and white mist onto the canvas and left the inks to dry naturally. The decorating part was the most fun – I used a combination of different Petaloo flowers to form a dimensional corner on the canvas. As a finishing touch I added some DoCrafts tags and punch outs and chipboard letters. This is a really simple project but loads of fun playing with colour and texture. To create the dimension using my flowers I adhered everything on the canvas using 3D glue dots, this way I could adhere the flowers and then manipulate them until the glue dot settled.
i love the texture and colours variations on these beautiful Petaloo blooms...simply delicious
a docrafts tag peeking out from underneath the layers of flowers
more blooms in reds ...


 So what will you make for your loved one this Valentine’s day? Personally I think a handmade card or a simple love note in a creative wrapping is worth more than anything money can buy.
 Wishing you a year filled with true love and a handwritten love letter to treasure!
Products used

DoCrafts Me to You Double Sided Paper Pack A5 - Valentines (30 Pack) [DMTY160109]
DoCrafts Me to You Glittered Die Cut Sentiments A5 - Valentines (36 Pack) [DMTY157106]
Petaloo Velvet Wild Roses Small - Poppy Red [C1294-125]
Petaloo Velvet Hydrangeas – Geranium [C1296-131]
Petaloo Camelia - Cardinal Red [C1555-324]
Petaloo Trumpet Vine Spray – Red [C1825-322]
Mister Huey's Colour Mist - Pretty Pink [AC 331083]
Mister Huey's Colour Mist - Opaque White [AC 101100]
Mister Huey's Colour Mist – Silver [AC 331079]
Mister Huey's Colour Mist – Gold [AC 331078]
Zots 3D 200 [TW 3786]
 

Popular Posts

Like us on Facebook

Flickr Images