a scraplifted layout .

it's been a hectic last couple of months and it seems like time is flying by even faster than normally. but i have been doing a lot of scrapping none the less and have even scrap-lifted a couple of layouts that have caught my eye. this layout was inspired by Jeanette from scrapbook den. Jeanette offers some stunning class with the occasional layout and card making class taught by yours truly at the shop at the beginning of each month. i changes up the layout to suit my style...but regret not having done some misting on the background now. any how...hope you feel inspired to get creative this week.
for my glitter title i cut the word together using my slice machine out of brown card stock. i first adhered it to my layout and then covered it in a layer of dimensional glaze. then sprinkle the glaze with glitter and leave it to dry for a good 15minutes before shaking off the excess glitter. a perfect glitzy title to get you into the holiday mood...
the little flower was embossed onto cream card stock using clear embossing powder. i then added colour using distress stains and misted it with water and letting it dry naturally. **remember that letting things dry naturally always gives a way 'cooler' look than drying it using a heat gun.
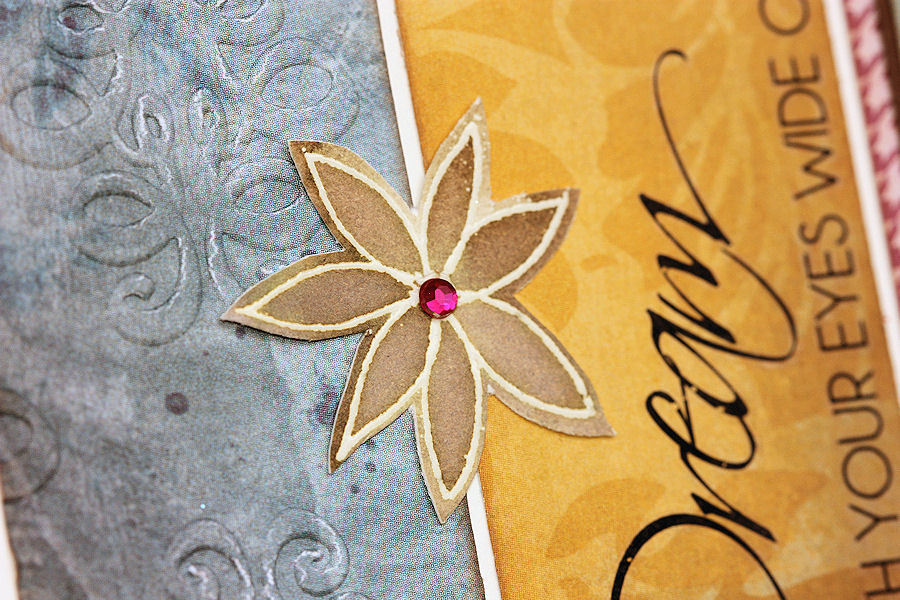
most of my strips i embossed using my cuttlebug machine and some embossing folders. i sanded some of the areas to give a worn out look. and don't forget the sewing on the edges for some added texture and colour.
some old PSX (personal stamp exchange) stickers came in handy. i used some glitter glue to add sparkle and change the stickers up a bit.
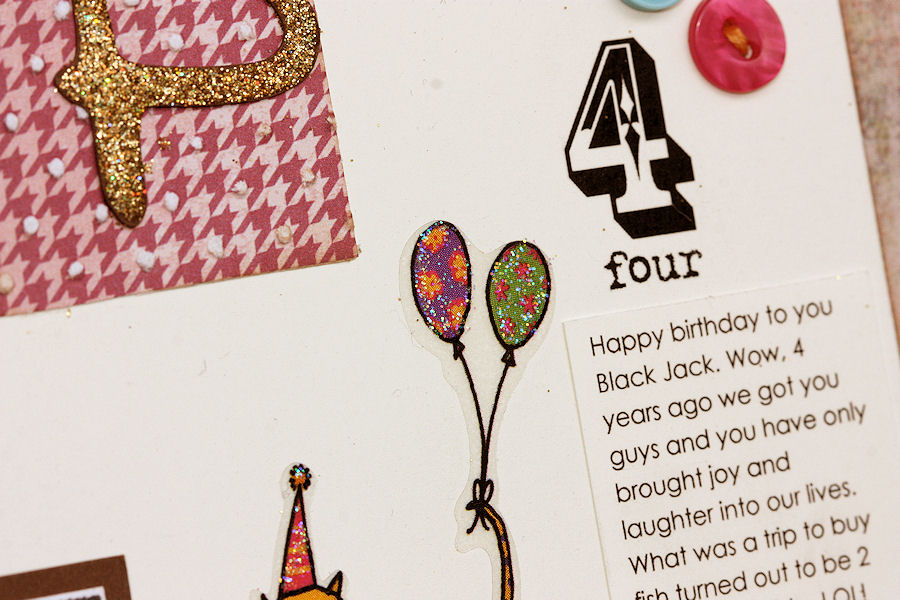
i can't believe my little pups are 4 years young...they fill our lives with love!
thanks for popping in today -hope you have a wonderful week.

chandelier make-over.

so this morning i finally finished the black/green wrought iron chandelier make-over for my client. what a long haul this one was...a whole four days of cleaning of years worth of dust and grime and then lightly sanding and getting rid of gunk and dust and loose flakes before i could actually start the process. so as i said before i am so bad at taking before and after pics - so yes you guessed it no before pic here, just the finished lady in all her creamy glory.
the black rope wrapped around strategic points was a headache at first, and then i simply embraced it as the paint took to it eventually leaving it slightly distressed and totally matching the look of her dining room table i painted so i left it as is.
tada! here she still is suspended in my garage (which is also still unpainted)
i added some beautiful crystals here and there to 'french-en" it up a bit. it totally did the trick to turn this dark and depressing lady into a glorious swan filled with light and beauty. can't wait to see it all hung up in its spot. and i hope to get some pics then. hope you are having a creative weekend with some rest. thanks for popping in.

dina wakley stamps, glitz and paint splats.

here's a more recent layout where i simply had to use my new dina wakley stamps. if you're a stamper and love my style then you are sure to absolutely fall in love with her stamps and style of throwing paint onto paper. i wish my personality aloud me the freedom to do more of that and that it would be more easily accepted within the crowds...i guess it is just too unorganized and free for most people who love to be in control and perfectionists.
i used some of the new glitz girls paper ranges combined with some old 7gypsies, october afternoon and mme. i loved how it turned out - the blue and yellow with a hint of pink. the photos are a quick recap of the year 2011 so far.
here's a bit of that hand coloured silk ribbon again.
paint splats with an almost dried up paint dabber from ranger - whats with that? i hardly have it for a couple of months. i think it's time to call it quits with all the other stuff and stick to inks as clearly their paints aren't working out for them. but this is just my opinion.
and here she is...dina wakley in all her glory stamped onto a piece of yellow patterned paper. it says i am uncomplicated, free, happy with myself, content in what i do, unaffected by the masses and what they think, i am me. i am just going to have to get myself some more of these beauties. thanks for stopping by.hope you have a wonderful weekend planned. my day is filled with some project deadlines, a chandelier that needs to be completed for a customer and some down time this weekend.
supplies
background cardstock by african dream house brand smooth
patterned papers by glitz, mme, october afternoon, 7gypsies
stamp by stampington for dina wakley
ink by tsukineko
stickers by glitz
paint by ranger industries
silk ribbon by may arts
distress stains by ranger industries
other postage stamp, thread, diamante,
sketch by let's scrap

card camp recap.

it's been almost a week since our annual card making retreat and i am struggling to get into routine again. this year seamed so different and tiring - although i enjoyed it. things change every year and some for the good and others not. this year we had loads (90%) new girls attending camp. what this tells me is that the regulars are struggling and finding it hard to budget for camp which was also visible in sales. it may only be my observation but one none the less. every year i make a something special as my project - other than a card that is. BUT this year even i opted for a card which meant that i actually stuck to some sort of budget. and although there seemed to be some disappointed ladies everyone loved the cards too.
we did some funky backgrounds using distress stains. easily one of my favourite products to be released this year. although an old technique, out of 75 ladies only 1 had done this technique before and not with this new product or on paper. so all in all a good 2 days of informative teaching to a bunch of eager learners. today i am sharing the card samples with you as i prepare the step x step photos which i hope to share tomorrow God willing.
card sample 1 and a close-up pic of the ribbon we coloured using distress stains. i am such a snob when it comes to ribbon - so for me to use ribbon on a project it has to be silk at the very least. the colour and texture you can achieve is simply amazing.
card sample number 2 - same technique but different colouring.
the effects is simply amazing and even better in real life than in the photos.
thanks for popping in. stop by tomorrow for the technique sxs and some more samples of using distress stains on your cards and layout.

Popular Posts

Like us on Facebook

Flickr Images