Create - double page layout.

Just reminder that the September issue of CREATE Magazine is live and you can download and read it at your own pace perusing leisurely through all the amazing inspiration from the team.
I am sharing this layout I created using the sketch9. I loved working with this sketch - and this was a real challenge using so many photos on a single page - yes I am a less is more kind of girl.
For my large "J" I used a grungeboard letter inked using dark brown walnut ink, then embossed with a layer of silver and gold embossing powder mixed together. Lastly I added a layer of StazOn Studio Glaze in Gold to add to the faux metal look. I love how this turned out.
So head on over and catch the magazine as well as previous issues all in one convenient location by clicking on the link above.
You can also Download some free sketches and play along and get published in a future issue - so go ahead and be inspired and CREATE! Until next time.

#lifeisgood - NEW stamped floral card for Chiswick.

I am up on the Chiswick blog today with this stunner of a stamped card using their new stamp sets.
Hop on over to the blog and see how i did it and to view the entire stamp set.
Love the layered look of the stamped flowers...
Remember to visit your local craft store to get your new Chiswick stamps sets today!
Please let us know if you have any trouble getting hold of the products and we will assist you gladly.
Until later – happy stamping! Have a blessed day!
Products used
Clear Stamp – Daisies (ER-C10) rs3174
3 in 1 Block Set with Interchangable Handle rs3070
Craft Guillotine – 6.25″ pct809
Plastic Bone Folder cr1200
9pc Eyelet Tool Set cr1100
Embroidery Scissor 110mm cr0900

Stamped details with lady Pattern Paper.

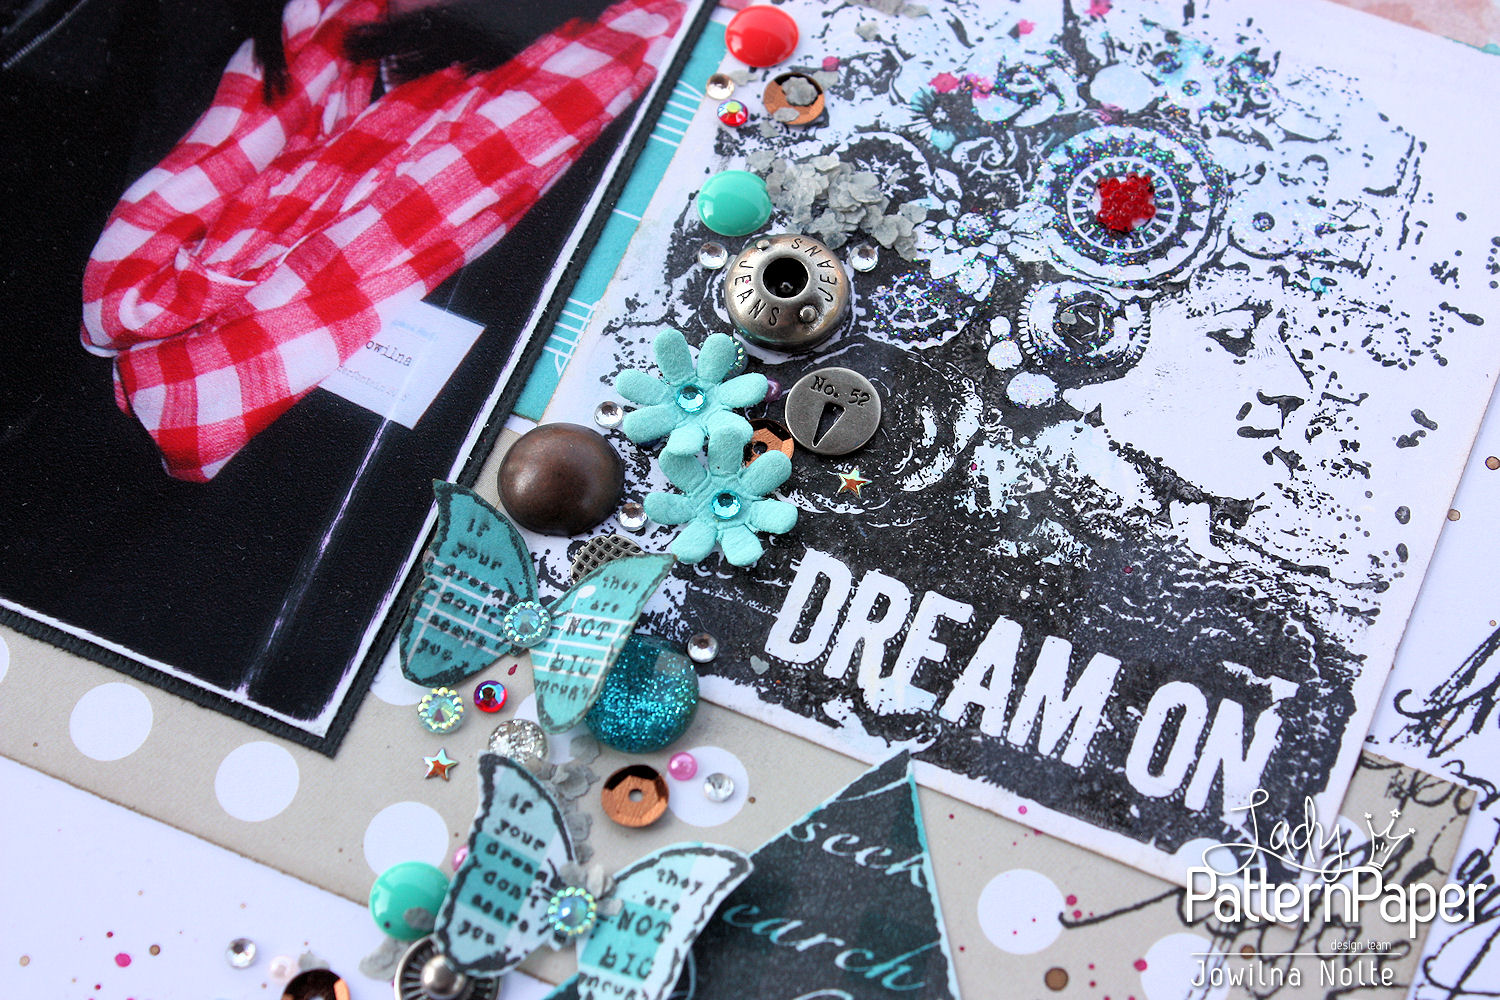
I have a huge selection of gorgeous stamps that I love so much. So I am on a mission to use all of them at least once this year – quite a commitment and mission but something that is making me feel so much better. But more exciting is the fact that I can create my own embellishments using my stamps. So I stamped a couple of images onto my Lady Pattern Paper and used them on my layout turning my layout into something truly unique.


I used a combination of the Intense Teal and So Buff papers to create a very pleasant layout that is calm – a somewhat neutral background for my photos to sit on and the cluster of stamped elements and embellishments.

 I stamped this beautiful diamond shaped stamp onto the Essentials Gingham pattern. The stamp allows a slight hint of colour and pattern to show through it making for an interesting element.


 I only use VersaFine ink for most of my stamped images. This ink is perfect for the detailed stamps I used, and dries perfectly on the Lady Pattern Paper.
 For my butterfly stamped images I used a combination of Gingham and Sheet Music papers in Teal. The pure black ink against the stunning teal colour is such a wonderful combination. To finish off the stamped butterflies I added some metal elements and diamanté to the centres as a nice finishing touch adding dimension.
 Use large and small butterfly images and stamp them onto your patterned paper to create your own embellishments. Dress them up with other elements and let them float on your layout by only adhering them in the centre of the butterfly and letting the wings float lose.
To add some of my red/pink accent colour I used a scrap of the Pink Mary script paper to the right hand side of my layout, combined it with stamped words and elements for dimension and texture. Grouping elements together to fill an empty space on a layout makes for a wonderful and simple statement.

I love how busy this layout is, but also quite pleasing with loads of interest. And my favourite foundation for creating this stamped detail layout is my Lady Pattern Papers.


Details with cutting dies on a layout!

The more I use my collection of dies, the more I fall in love with them if that is even possible. I mean I really love the designs, but sometimes it is just an effort to pull out all the bits and pieces and actually use them – do you sometimes have that feeling? I know you do!
So in an effort to love my dies more and use them more, I have opted to keep my Cuttlebug machine on my desk permanently and that have made all the difference.
I started using my dies more and I love the simplicity they add to a layout, project life pocket and card – making such a huge impact. And the best part, you don’t need to do much to them to make them come into their own right.
For this layout I created a really busy background using inks and patterned papers. I wanted to add some soft flowers, but that didn’t work with the background so I opted for some die cuts to dress up my layout and finish it off.

step 1- I used the beautiful Prima flower die cuts and cut 3 large flowers out of smooth white AC cardstock. I left them white as is. To make the delicate cuts release easily from the die, I used Quick release paper between my die and cardstock.
step 2 - I then cut some yellow flowers using yellow smooth cardstock. I cut the yellow flowers in half since I was only tucking them under my packaging piece used for my photo matt.

 step 3 - Cut the ‘locked’ die out of smooth white cardstock and ink the edges using brown chalk ink and a sponge dauber for a distressed look. TIP: to create an old world distressed and rusty look on my key hole die, I could have used a combination of embossing in silver and black dye inks, but I wanted it to be clean and fresh and uncomplicated.
 step 4 - Adhere two strips of patterned paper to your background cardstock. Add a layer of white gesso to the papers to make the ink adhere better to it. TIP: Gesso creates ‘tooth’ for ink and mist to adhere better to paper and cardstock as well as other surfaces like canvas, wood, metal, plastic.
step 5 - Position your photo matt, in this case my packaging piece and the die cut elements onto your prepared background to determine the correct placement. I tucked the flowers under the top left and right hand corner and then adhere them using two large brads. TIP: By leaving the die cuts loose on your layout, you create movement and dimension.
 step 6 - Add mists and colour to your background using Prima Colour Blooms.
 step 7 - Once all the inks are dry, adhere your photo in place. Adhere the ‘locked’ key hole die on the left overlapping your photo. I cut a second lock out of grey cardstock and adhere it in the keyhole. You can also just back the keyhole bit with patterned paper behind the opening to add colour and dimension.
 step 8 - Add a second colour to your background using a second colour of mist as an accent colour. Finish off with additional embellishments.
 PS: to minimize the buckling of my layout after adding all the inks, mists and mediums, I adhered it to a piece of grey chip using my Tombow glue stick making it really smooth and firm.
In a few easy steps I added some gorgeous details using cutting dies on a layout – simply cut out of cardstock – quick and easy.

Mixed Media card - The Wholesaler featuring Tsukineko all purpose inks.

With all the new art mediums and inks available it is hard not to dabble in a cross pollination of different mediums and inks into my crafting projects. So this week I created a card using Crackle texture paste and inks for a beautiful and interesting look. And if you are thinking that it is just not for you, think again. Combining different mediums together is really easy, and if you start off small, you will soon be dabbling into beautiful works of art and canvas pieces, and even some mixed media scrapbooking with great success.
For this card I used crackle texture paste combined with 2 colours of all purpose ink.
Step 1 - On watercolour paper, used a Prima stencil and some texture paste. Apply the paste through the stencil using an old credit card or palette knife. TIP: The thinner the layer the smaller and finer the cracks in the texture paste will be, the thicker the paste, the longer it will take to dry, the bigger the cracks will be
 Step 2 - Once the paste is dry, mist the surface with water. Use a paintbrush and then lightly brush on some all-purpose ink in your lightest colour first. Then use another paintbrush and add the second colour of ink in the same way but overlapping onto the first colour of ink. TIP: Because of the water, the inks will mixed and blend together giving a really interesting colour effect
 Step 3 - Once the ink is dry, use a die-cut and cut the coloured piece into a shape of your choice. I used an inverted corner frame for my card.
 Step 4 - Using a scrap piece of coloured cardstock, die-cut a word or sentiment of your choice.
 Assemble your card by adhering the frame to the centre of your folded card. Add a few leaves and a large matching flower. Add your die cut sentiment. Dip a small paintbrush into the light blue all-purpose ink and splatter the background of your card with the blue ink as a finishing touch.

Another quick and easy way of using your All-Purpose Inks – combine it with art mediums on cards, layouts and canvas projects. Please let me know what you think of this mixed media card tutorial?


Stamping with stencils - Prima layout.

Over on the Scrapbook Studio blog I share how i used my much loved stencils as stamps to create backgrounds on my layouts. Stencils are one of those underused things in our stash that is really worth so much.Head on  over here
and see how you can win a product hamper by simply using your stash.
Versatile and pretty at the same time - combine your stencils with dye inks and create fabulous background effects.
 Combining Prima resin frames with old postage stamps -  a perfect combination between old and new.
 All Prima products are distributed by The Wholesaler in South Africa and available from
www.scrapbookstudio.co.za
Until next time - have a wonderfully creative week!

Spring has Sprung card - Imaginecrafts featuring Tsukineko.

Hi everyone - thanks for popping by today! I am over on the Imagine crafts blog today sharing a Spring card for those in the Northern Hemisphere, while we down south are feeling the crisp in the air. Head on over here to sea how I used the amazing set of Radiant Neon inks for this card.
See the full instructions for my card on the blog, and explore the wonderful world of imagine crafts and Tsukineko inks.
Tsukineko inks are proudly distributed in South Africa by The Wholesaler.biz

American Crafts this to that accents and Project Life!

Have you started your Project Life album for 2015 yet? Well for a change I have, and I even started it on the first which is so comforting to get right back into memory keeping – you know recording the little things in life.
I was using the American Crafts range of “This to That” tape runners and fell in love all over again. Not only do they make things easier and quicker to adhere to your projects, but in my PL album it makes total sense. I can easily take them on the road, they are small and compact and super strong adhesives, but I can also create quick techniques and interesting effects using these roller tapes.
 For the background of this card I used a combination of Prima Color Bloom sprays and stencils to create a fun effect. A bicycle sticker and rub-ons complete the look.
 A few more stickers and some words cut from Kaisercraft papers.
Here's how I created my fun dot accents
Step 1 - Use the “dot” runner to draw a quick line across the bottom of your PL card
 Step 2 - Sprinkle the glue line liberally with AC glitter
Step 3 - Shake off the excess glitter and decorate the card with journaling and stickers and simply pop into your page protector
I love the different effects you can create with the dot and tab runners. So ask your local craft store for these wonderful products by name, and make sure you don’t get stuck on creativity!

The story layout - lovely layered photomatts.

Jowilna here, and Today I am sharing how i created a layered look with two different dies - nothing out of this world but the effect is so easy and so gorgeous - plus with all the new die releases up for 2015 - this look can be achieved using any of the new backgrounds and frames! I can't wait to experiment even more!
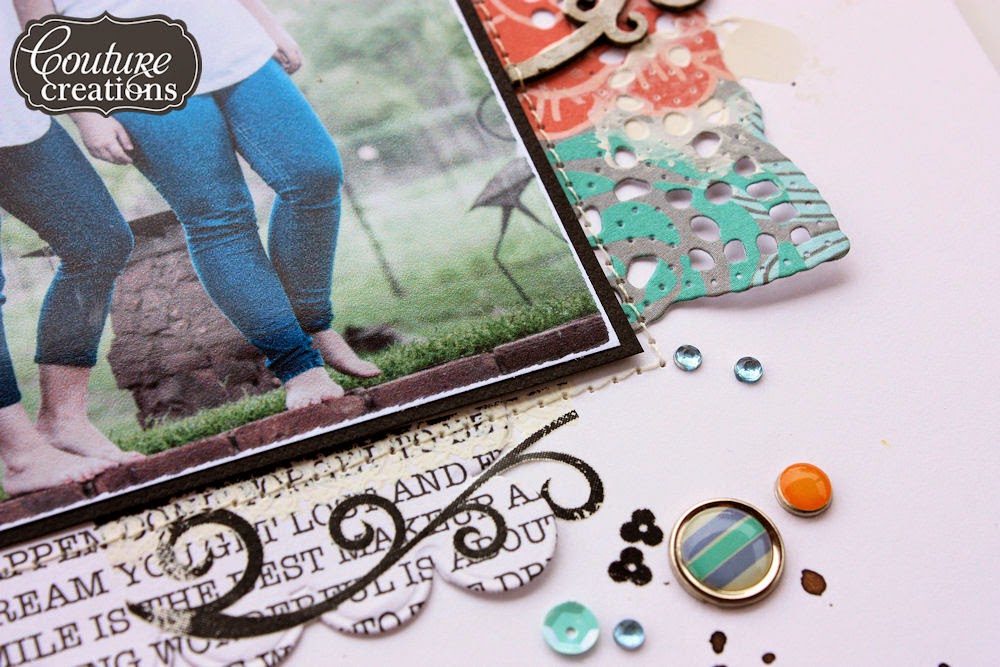
For my layout I combined the scallop rectangle nesting die and the beautiful Lotus Fillet | CO723240 
die to create an extended photo matt.
 I used scrap papers for all of the die-cuts. I first cut the large scallop and then cut the scallop piece into two horizontal halves. These pieces will form the top and bottom edges of my matt.
 Then use the Lotus Fillet | CO723240 die and cut the left and right hand side of your matt. My patterned paper piece was too small, so i simply positioned it onto the die on each side and cut them.
 Place the four sides overlapping onto each other and then position your matted photo onto the base - if you are happy with the look, adhere everything together to form an extended photo matt.
 I added the matted photo to my layout and then added some additional embellishments. I used this lovely chipboard frame from Imaginarium designs and cut it in half as well to compliment the look, and use it in two places on my layout.
 I added machine stitching all around the photo, and this also held the die-cut elements in place with the edges loose adding to the informal look.
 Repearting all the elements at the bottom of my layout with the beautiful chipboard element dressed up in some Prima heavy gesso and sewn to the layout.

I used this beautiful die from the Ornamental range Lotus Fillet | CO723240 die
Keep in mind that if you miss a die collection from Couture Creations you may not be able to get a hold of it again - so don't delay in getting the new designs as they are amazing! Visit your local craft store and make sure you ask for them by name. Also check out the website for new releases and the blog for some amazing inspiration.

Popular Posts

Like us on Facebook

Flickr Images