Summer time tag with burnishing paste.


Summer is here and with the versatile sticker range from Chiswick you can create gorgeous summer projects! So this week I wanted to create a tag with some pastel undertones – light and fresh. What essentially started off as a dark base turned out to be just perfect once i added some Burnishing paste to tone down things a bit.

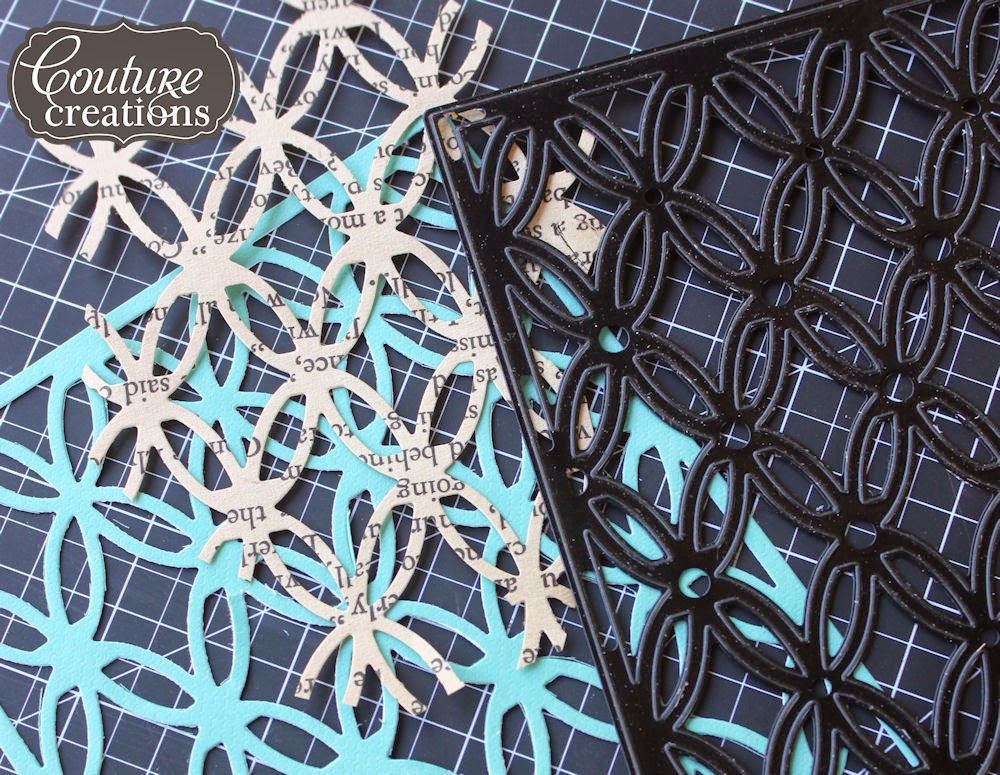
I started off by creating a patterned background using Gesso and a Heidi Swapp stencil.
 i then added some colours using dye inks – brown, orange, green and yellow combined. I left the ink to dry completely highlighting the Gesso stenciling.
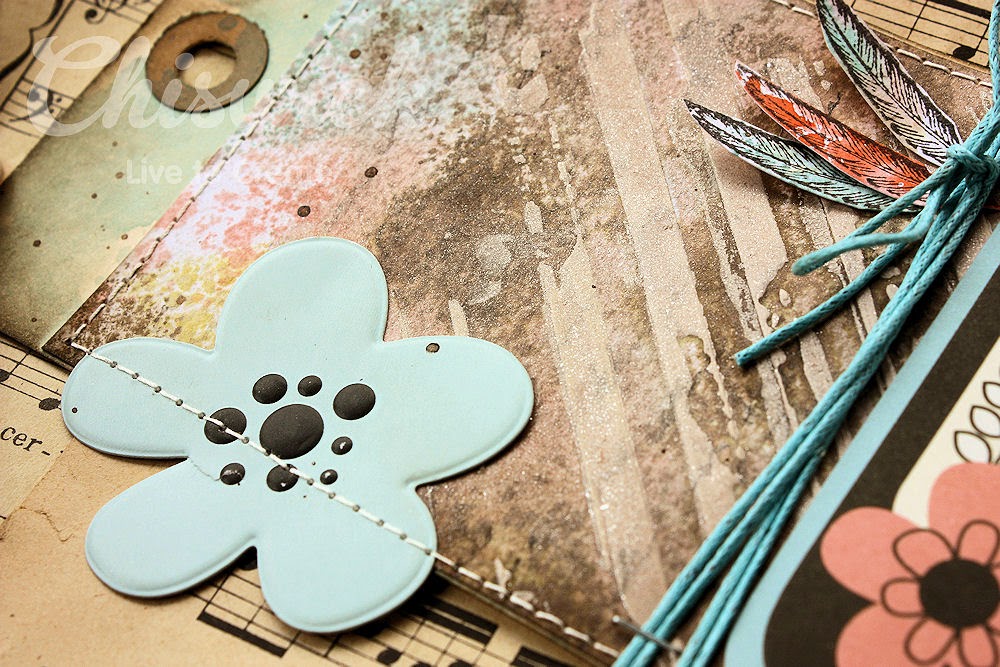
 Next up is where the magic really happens – I covered the entire piece of cardstock using Metallic Bronze Burnishing paste from Chiswick. The colours are still visible but toned down with a beautiful bronze shimmer to them.
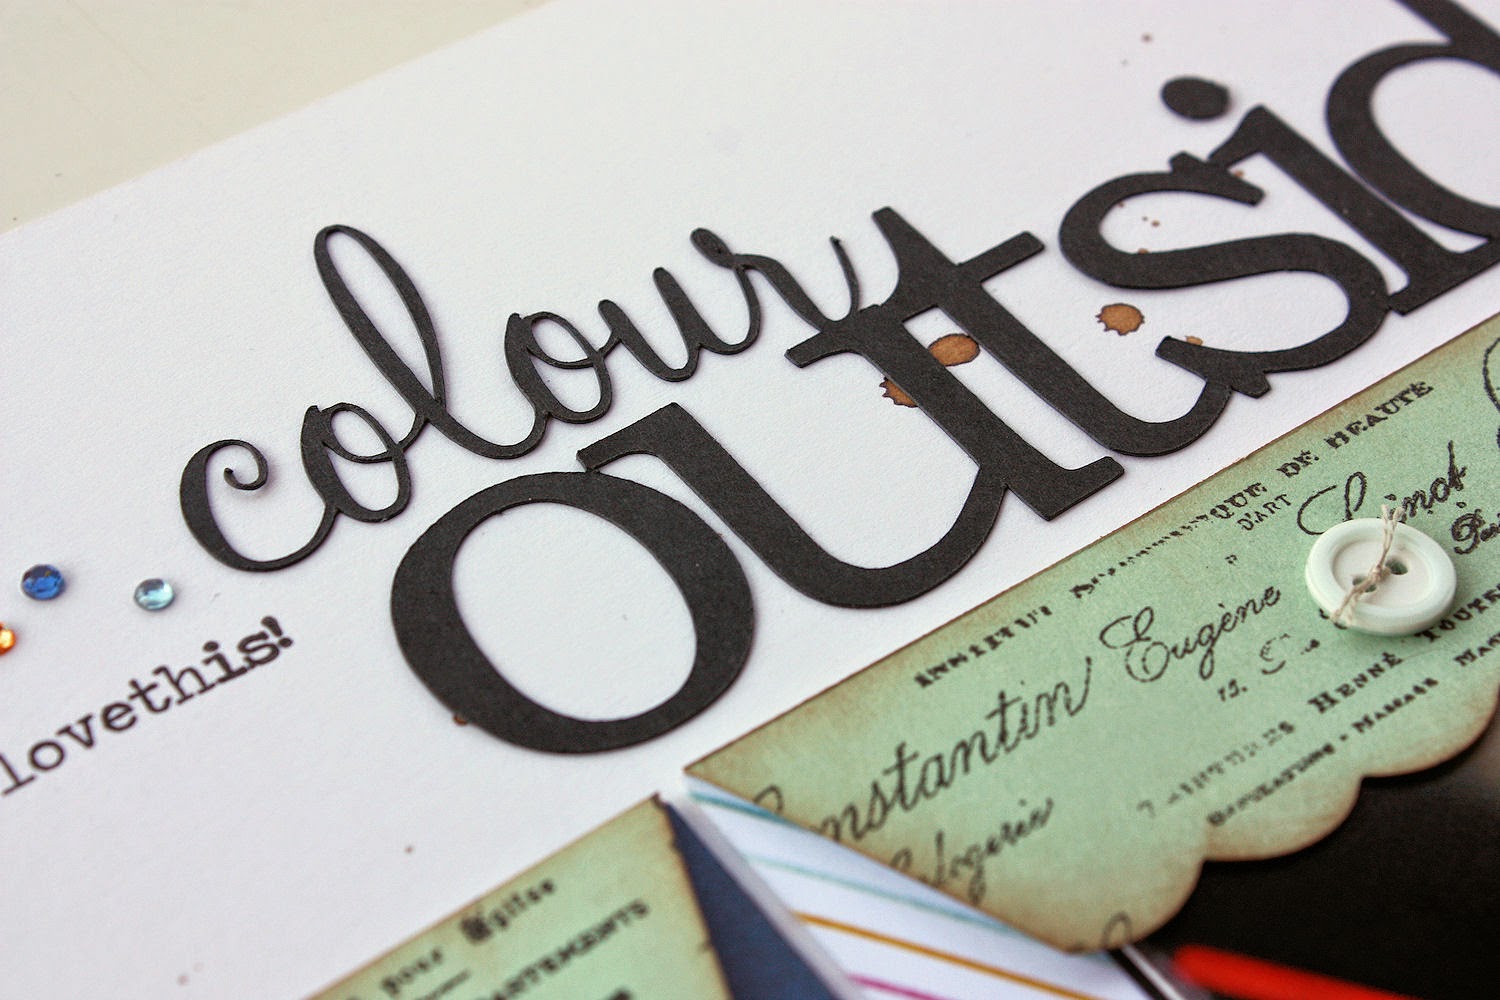
 I added some background stamping using a script stamp from this gorgeous stamp set.
 and lastly i stamped some feathers onto the technique scraps created for my background. I used my versatile Chiswick scissors for the fine detailed cutting.
 i used the range of stickers to assemble my tag together with my stamped feathers and some embellishments.

 dimensional stickers combined with borders and flowers – delightfully summery!

I used these wonderful projects for my summer tag – available from your nearest craft store or visit www.chiswick.co.za to view all the products.
Craft Guillotine 6.25″
Burnishing Paste 25ml BronzeA2 Cutting Matt
Embroidery scissors
Embossed stickers
Layered stickers
until next time – I hope your summer is amazing!

Silhouette CAMEO home décor project.

I am constantly amazed by the possibilities of the Silhouette CAMEO®. I always knew it would be the one thing that can be used in a million different ways – but now I am living it. So this week I wanted to create something using vinyl, but since it meant a trip to the shops I settled for something I can do here and now using my American Crafts smooth black cardstock until I can get to the shops. 

I wanted to create two little wooden vintage looking plaques for our dogs. I had the wood and with some cardstock I would set about making these cute little wooden signs in no time at all using the Silhouette CAMEO®
I started off by importing a Jack Russell silhouette image into my library.
I wanted to cut to of the same images but the one inverted from the other one simply because I have another project in mind, and simply flipping the cut image over would not work for this purpose.
So I went to my Object menu and clicked onto the Replicate tab, and then selected Mirror right – this flipped my image over so that my doggie was now facing left instead of right – so cool in a simple click.
 I then dragged my images where I wanted them and deleted the extra images.
i t hen traced my images by selecting both images and then clicked the trace outline button.
  deleted my black images which left me with my red outlines only – my cutting lines.
 Once I was happy with that I loaded my cutting medium, black smooth American Crafts cardstock and cut my images.
 I kept the cut out paper, which created instant stencils for me to use on my next project I have planned.

The silhouette images I am going to use for my plague is going to be adhered to a piece of wood. I used my Tombow Mono Multi adhesive and added a thin layer all around the image, and left it to dry until the glue was totally clear and tacky.

  • TIP: did you know that leaving Tombo Mono Multi to dry on a surface and then adhering it makes if a temporary adhesive that you can lift and re-apply several times – so we made our own sticky backed stencils.
 Once the glue was dry I adhered my image and painted my brown chalk paint over it, being careful not to apply too much paint otherwise it might run under my cardstock image.
 Once the brown was dry I added a layer of cream chalk paint and left that to dry.
 Once the cream chalk paint was dry I used my Couture Creations paper piercer to catch the cardstock image and lift one end of it carefully.
 I then carefully lifted my image off of the painted block of wood.
 Lastly I sanded and distressed the plaque and added layers of dark and clear was to seal the paint and add a nice vintage finishing touch.
This was a fun project to make, and although I didn’t have my vinyl, I could easily adjust it slightly by creating cardstock silhouette images to use instead.
If you are looking for images to cut, a quick Google search for FREE doggie silhouette images helped me out this time around. Products used in this project

Bleached out stamped images - did you know you can bleach Distress Stains and ink?

So, did you know you can bleach out Distress Stain and Inks? bet you didn't! well
last year i was pushed to the limits and wanted to see if the ink and stain from ranger would bleach? Because that's what a girls does right? Right!
I was amazed and smitten with the outcome - so today let me share another little card i did for Chiswick using one of their beautiful stamps to bleach out.

So last week i used bleach on the Chiswick cardstock and loved the effect – this week I am using their stamps together with some inks to create a beautiful and pretty card for someone special.
Sometimes all you need is a gorgeous image and some scraps of paper to create with. I create a coloured background using inks and then stamped my bodice image in black in onto the coloured cardstock. I then used bleach and a paintbrush to colour some portions of the dress dummy – the bleach, bleached out the ink on the background highlighting the stamped image – and making it the focal point of my card.

I absolutely love this effect! A few key embellishments, machine sewing and a stamped sentiment is all i needed to finish off this card.
The main focal point of my card remains in tact, and my embellishments supports the theme rather than distracting from it.
 
 The more bleach you add the whiter the ink will go!
The darker your inked background is the better the image will bleach and the more amazing the effect will be - warning: this is addictive!
Tips and tricks:
remember to use a black permanent ink pad to stamp with, otherwise the bleach will also bleach out your stamped image totally.
Return unused bleach to it’s opaque bottle once done – when bleach comes into contact with light, it looses it’s functionality.
Avoid working with bleach when you are wearing new or dark coloured clothes....just don't
Just a warning - i tried this technique on many different cardstocks, and my technique cardstock works the best!

What have you used your Chiswick stamps for lately?
Hop on over to the Chiswick website at www.chiswick.co.za
to view their stunning range of stamps to create your next project with!

PS: and here's my first card i did using the bleach on distress stains

Die-cut Vintage cards.

I can hardly believe time has flown by so quickly - but am delighted to be on the blog once again!
Todays post is all about combining die-cuts out of different materials and adding some mixed media to it as well. What started off as a mess and took hours to dry in the end turned out to be a fun experiment in texture and pattern.
I started off by cutting the lattice lace die Tied Together | CO723249 die out of a sheet of old book paper, as well as a sheet of double sided cardstock. For the old book paper cut i used my scissors to cut a piece out of the center and chucked the frame portion
I then added some Gesso to another sheet of old book paper and adhere the cardstock cut to the top of that.
I tehn adhered the cut portion of book paper Lace die on top of the colored cardstock die slightly off-set. I added some sewing and also a focal point to the front of my card using the 1950’s Albert & Simonetta | CO723719 die.
I embossed the 1950's die-cut in sparkle black embossing powder for a silhouette look.
 I adhered them to the front of my card and added a simple stamped sentiment. some sewing around the edges finishes off my vintage looking 1950's card.

After i had all my die-cut lace pieces done, i was left with loads of diamond shaped pieces - and because something can be wasted i started on another project. I simply added a thick layer of gesso to a scrap piece of cardstock and then started placing the diamond pieces randomly into the gesso.
Now it's just a matter of waiting for it to dry and then i can add some more creative bits for another card with gorgeous dimension.
Couture Creations Products used:

Tied Together | CO723249
1950’s Albert & Simonetta | CO723719 die.
15 x 15 Cutting Mat ^Premium Craft Tools Couture Creations handheld tools

 Happy cutting until next time! remember to visit and like us on Facebook - and keep an eye out for new and exciting releases coming soon!

Scrapping Blog tour.


Goodmorning and welcome to the weekend! Today i am off to spend some time with friends doing something i haven't done in 20 years....taking a class, before i am off giving a class this afternoon. But today you are here as part of the blog tour that bloggers and creative people all around the world are taking part in - just for fun.
The wonderful and ever so talented digi guru Brynn Marie nominated me...

I have know Brynn for a few years and all i can say is - if you are looking for anything digital she's you girl! she is so talented kind hearted and a sometimes life gets in the way and my kids crack me up kind of girl! kind with a huge spirit for creativity. so please visit her wonderful blog and support her by shopping her digital goodies - oh and did i mention she can rock a mean traditional scrapbook page as well! now that's talent! and so back to the blog tour and my questions i have to answer....
 
1. What am I working on right now .
several things, but mostly design wise - waiting for a box of new goodies to get me excited or not - who knows!then i am also working on my Project Life album and some inking goodness to submit to an international company.


 2. How long does it take to create a project .
it depends - sometimes i can cut a set of papers and throw a basic idea together in 30 minutes, then finish it off in about 3 hours, but other times when life is tough it can literally take days - ugh! I find that the quick oh why don't i try this idea is the stuff i love most - just messing around makes for my best work - always. wish i would learn from that....


3. What are my fave things I love to create with at the moment
ink, ink, stamps, and die....and as of last week my Silhouette Cameo


4. How does my writing/creating process work
i normally grab a bunch of stuff that i like - a total mush mash of things that work together but with a strange twist if it may not all go too well together - i like the element of surprise and putting things together that other people won't. then i start cutting and position everything before adhering anything down. once things are placed i leave it for a few hours walking past it every now and again tweaking as i see fit, and sometimes even totally changing the original idea. then usually it all falls into place and i can fiddle and add the finishing touches.


5. How do I become inspired and stay inspired .
i shop decor stores and magazines - mostly window shopping - the colours textures and the different perspective gives me ideas on what to try. design websites are my best - always learning new things about design, composition, balance, trends etc keeps me inspired. and the one person in the industry that always inspires me is Ali Edwards - her motto of being real and just having fun while being creative always inspires.


6. What is my signature style .
 difficult to say - clean and simple with a lot of inky bits and something odd thrown into the mix to balance things out. i hate working with a single range of papers - so predictable....so at the end of the day i am not sure what my style is - i just do what i love!

and there you have it....
i nominate Cathy Sanders ....


have a super weekend filled with creativity!

Chiswick incorporated into my Project Life.

Hello and welcome - thank you for hanging around and to all the loyal followers and stalkers! I so appreciate the support and comments every now and again - and knowing that you sometimes visit my little creative corner - it does make it all worthwhile!
It's time for another Chiswick blog post and I had loads of fun incorporating their stickers, chipboard and cardstock into my PL layout for July.
For todays project I used my pink Chiswick cardstock and wanted to see how it would bleach out - yes with good old normal household bleach - and it worked even better than what i imagined. I dipped the pink cardstock into the bleach and it sucked up that bleach like it was a thirsty camel in the desert....it was quite amazing to see. On my heart I punched you can see how the bright pink bleached to a light cream - perfect for my colour scheme i was working with.
I also used some of my Chiswick inks and stamps to create the custom element for my layout - quick and easy and so versatile!
I used a piece that was totally bleached out to back the plastic word bar to make it stand out beautifully. Hard to believe that the pink bleaches to a soft cream colour.
I used the pink to cut this beautiful trellis and then backed it using a soft aqua colour cardstock.
For my embellishments I used some of the Chiswick range of stickers and chipboard elements. On this photo I added the sticker to overlap at the bottom, and then cut off the overlapping piece and added a staple to finish it off.

Die-Cut Stickers – Funky fun  st1002Textured C/Stock 216g 12″ x 12″ Dainty 2 10 Shts/Pck sb5345
Textured C/Stock 216g 12″ X 12″ Taffy 10 Shts/Pck sb5000
To view the products and to see more of the wonderful Chiswick products visit
www.chiswick.co.za or contact your nearest craft store.

Free Silhouette Paint Splat images to cut for your layouts and projects.

It’s been a while since technology has made me really excited. In a world where computers and instant gratification has taken over one can so easily get lost in it all. But then every once in a while something magical comes around – like die-cutting machines and in specific The Silhouette CAMEO®.
Now bear in mind there are loads of brands available on the market but for now – this is the one that makes my skip a beat or two.
I am very sceptical when it comes to gadgets – simply because I know how quickly they can lose their magic in terms of everyday use. But I think this one may be a keeper… So while the iron is hot – I suggest you strike NOW! The appeal for me was the fact that I could draw or create my own images and cut them – something unique and different to everyone else. So here’s what I came up with.
 Colour outside the lines layout
I wanted to create fun paint splatters that I could cut with the Silhouette in different colours and sizes and now was the perfect opportunity. As a bonus we are offering you the paint splats as a free download image (right click on the splatter links and click “Save link as” or “Save target as” splatter 1 and splatter 2), and an easy introductory explanation of how I created my paint splats into images that can be cut to use on my layout.
What you need to know, is that an image can be cut with the Silhouette – but you need to first import them into your Library, from which you can then add them to the page, trace the image outline and then cut the images – in laymans terms and a quick explanation of what I did. So here goes…
 

Open the Silhouette Studio Software. Click onto the File tab in the top left hand corner and select Import, Import to Library – You can create different Libraries of where you keep your images i.e images that comes preloaded on the machine, your own designs, downloaded images, and then you can also categorize them into themes like animals, school, love etc. *At this time, I will also load the material into the machine. Make sure the Silhouette is turned on, press the enter button to load the cutting matt
Select the image you want to import into your Library to cut. This can be a PNG, JPG, TIF, BMP, and GIF image. Click OK and the images will load into your Library.
Now that the images is in your Library, double click the image to open it onto your page that represents the cutting matt and material that will be cut in the Silhouette
I added both the paint splat images onto my page at the same time. You can now size the images to the size you want to cut them. Remember to hold the Shift key in while resizing to resize the image proportionally.
 The next step is to trace the outline of the images so that the Silhouette can recognize the cut lines. Click on the object and then on Trace
 You need to select the trace area by drawing a block (selection) around the images
On the right hand side, select trace outlines. The images will get a red line around them. You can now click on the black images and delete them leaving the read outlines only
Click on the send to Silhouette icon(highlighted blue below). The red lines of the images will go slightly thicker. Click start on the right hand side to start the cutting process.
Remember to save your images – click File, then save to library so that you can use it in future again and again.
For my paint splats I used American Crafts Smooth cardstock.
This is a quick and easy Silhouette Studio tutorial visual on how to get started. Watch out for more tips and tricks on cutting and using your new Silhouette CAMEO® machine – it will truly change your life!
Click here to see all the Silhouette electronic cutting tools currently available in South Africa!
Happy Cutting!

Popular Posts

Like us on Facebook

Flickr Images